Lab Kit PrototypeENGR 1281H
11Stoplight Control

Program a two-way intersection.

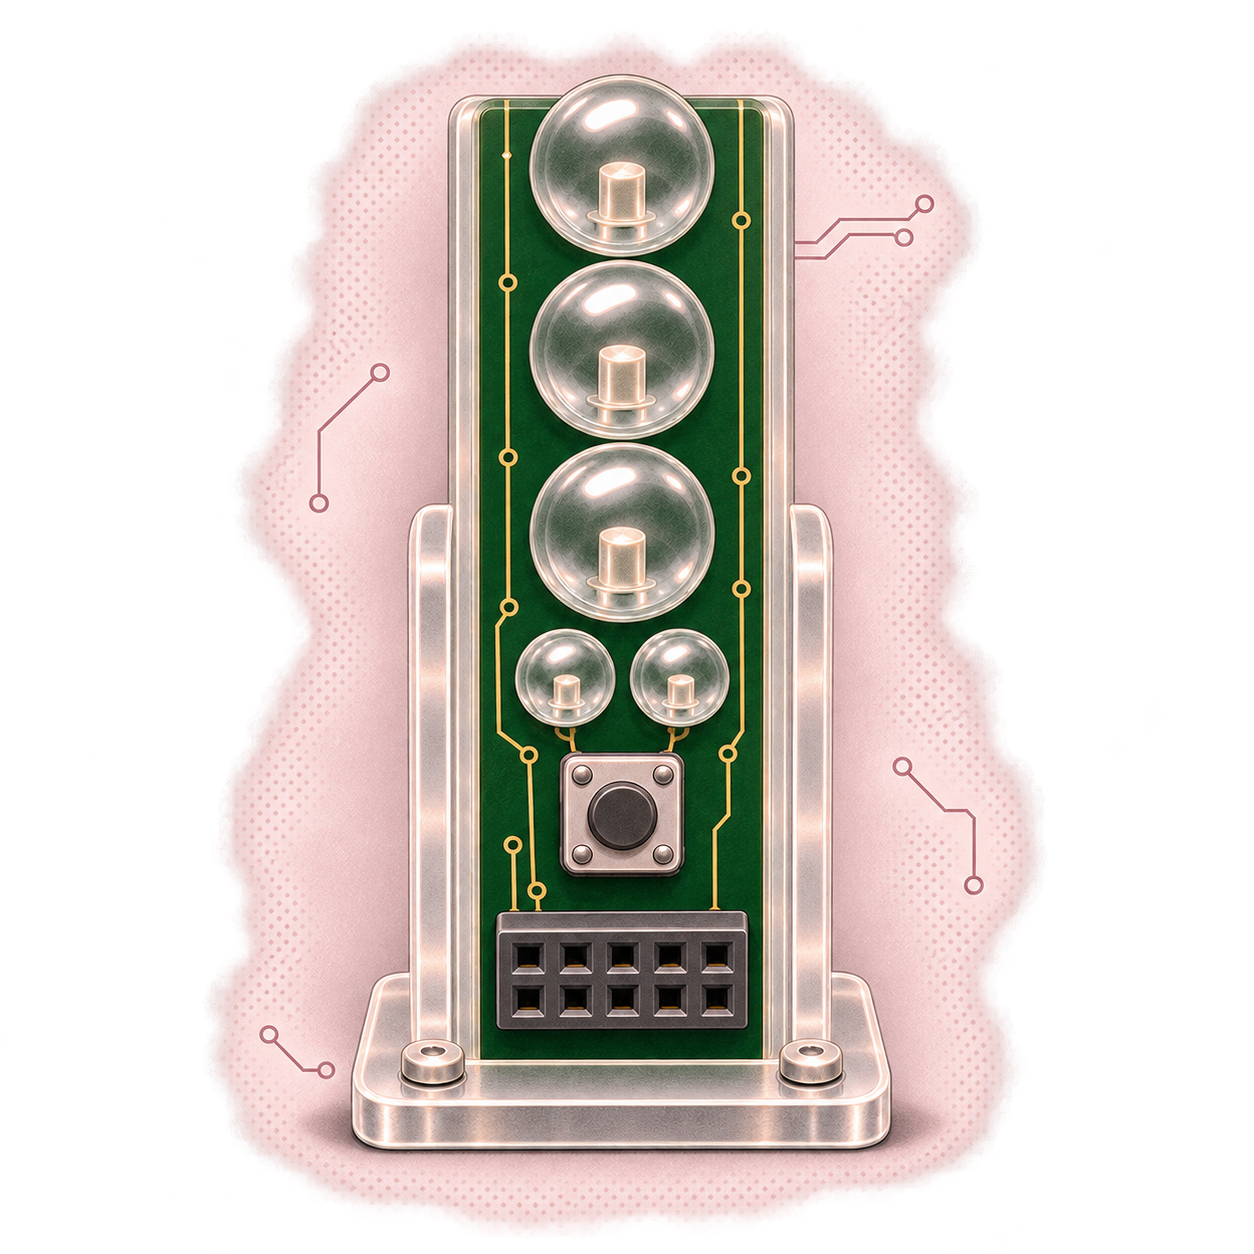
Two stoplight boards control traffic and pedestrian crossings. Connect them to the ERC2 controller, write the control program in C/C++, and test how the signals change over time.
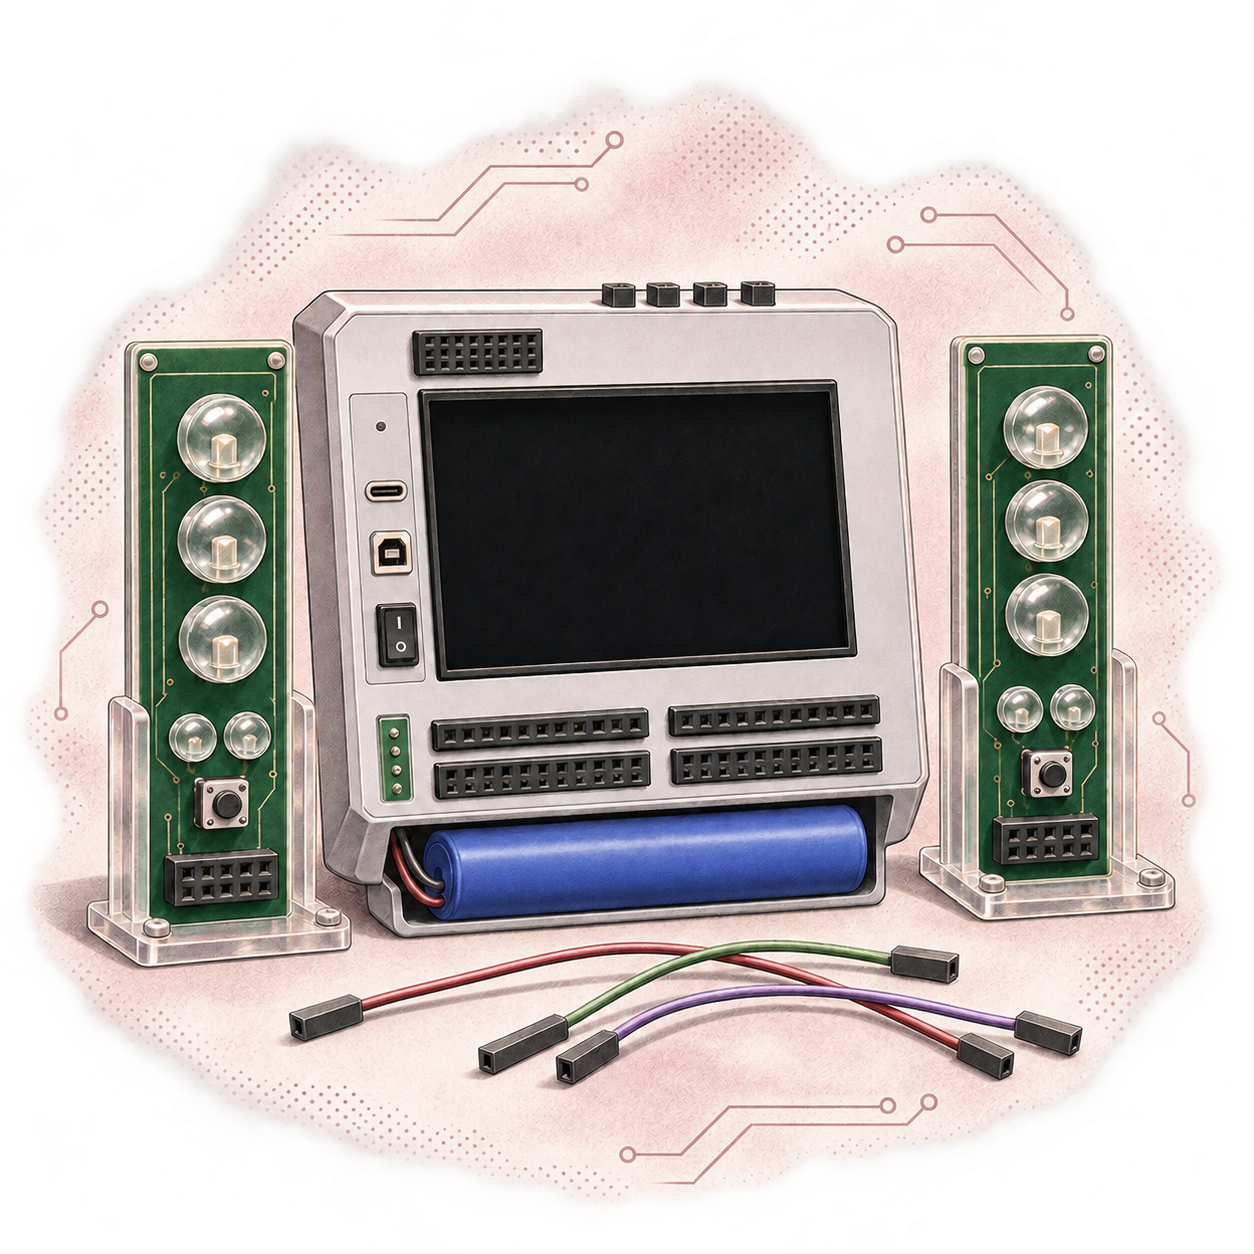
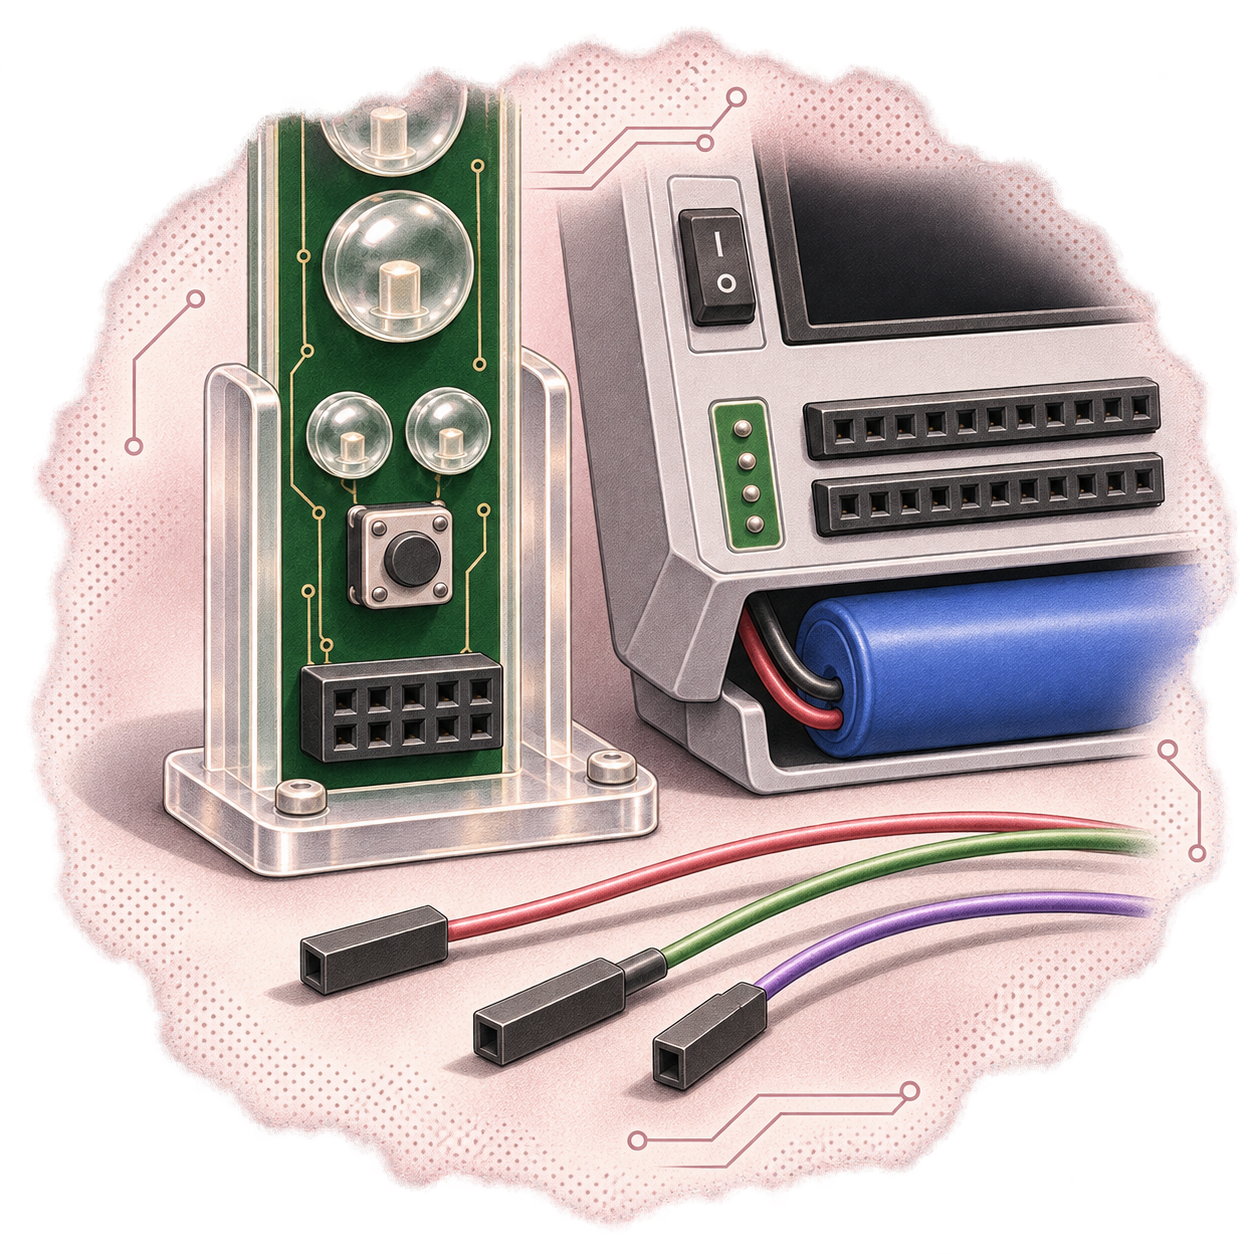
ERC2 controller with its blue battery, two clear-lens stoplight circuit boards, and loose jumper wires, framed by rose circuit traces and stippled print texture.

Lab guide

Control a two-way intersection

ENGR 1281H · Lab 11

Connect two stoplight boards to the ERC2 controller and program them in C/C++. Test each LED, then build the 18-second traffic cycle.

Checkpoint 12 ptsConnection test
Checkpoint 216 pts18 s base cycle
Code submission.cppUpload to Carmen

Stoplight arrangement

The real kit holds the boards at 90°. We show them separately so you can see and wire both.

01

Start the ERC2

Setup

Choose Upload & Run to launch the starter TestGUI() program. Confirm that its menu appears on the ERC2 touchscreen.

02

Wire both stoplights

Table 1

Click any socket on the Hardware Bench to run a jumper wire. Connect Stoplight #1 (North/South) to Bank 1 (Pin0–Pin6) and Stoplight #2 (East/West) to Bank 2 (Pin8–Pin14), plus +5V and GND. Check wiring compares your connections with Table 1. It does not test your program.

With both boards wired, resume TestGUI if paused and open Digital In. Hold each board’s SW1 button. Its connected input should change from HIGH (5 V) to LOW (0 V), then return HIGH when released.

03

Test your connections

2 / 20 pts

In the editor’s More menu, choose Load connection skeleton. Add the ERC2 headers, replace each XXXX with your Table 1 pins and touchscreen wait loops, and click Upload & Run. Tap and release the LCD. Observe all 10 LEDs cycling in order to check that your wiring and pin declarations work together.

04

Write the base cycle

16 / 20 pts

Adapt the stoplight logic from your earlier APP program. Use ERC2 functions for input, output, and timing, and add Walk/Don’t Walk behavior.

Follow the repeating 18-second traffic cycle in Figure 13. Keep one colored traffic light and one pedestrian signal active on each board at all times. Upload your program and observe a full cycle, including the repeat.

Submit your code

Upload your final .cpp file to Carmen.

  1. Select the tab containing your final stoplight program.
  2. Add a comment at the top with your name and team information.
  3. Choose More → Save .cpp in the editor, then upload the downloaded file to the code assignment in Carmen.

JSON is for your backup only

File → Save lab backup saves your drafts and wiring so you can reopen them later. Do not submit JSON files. They are not accepted as your code submission.

Table 1 · Pin connections

Connect Stoplight #1 to Bank 1 (red callouts) and Stoplight #2 to Bank 2 (blue callouts) per Figure 10.

TerminalStoplight #1 (N/S)Stoplight #2 (E/W)Mode
VCC+5V+5V5 V rail
GNDGNDGNDGround
Green LEDPin0Pin8DigitalOutput
Yellow LEDPin1Pin9DigitalOutput
Red LEDPin2Pin10DigitalOutput
Don’t WalkPin3Pin11DigitalOutput
WalkPin4Pin12DigitalOutput
Pedestrian buttonPin5Pin13DigitalInput
Piezo buzzerPin6Pin14DigitalOutput

Figure 13 · 18-second base cycle

Each street runs Green for 7 s (5 s with Walk, then 2 s with Don’t Walk) and Yellow for 2 s while the opposing street stays Red for 9 s.

WindowDurationStoplight #1 (N/S)Stoplight #2 (E/W)
0.0–5.0 s5.0 sGreen · WalkRed · Don't Walk
5.0–7.0 s2.0 sGreen · Don't WalkRed · Don't Walk
7.0–9.0 s2.0 sYellow · Don't WalkRed · Don't Walk
9.0–14.0 s5.0 sRed · Don't WalkGreen · Walk
14.0–16.0 s2.0 sRed · Don't WalkGreen · Don't Walk
16.0–18.0 s2.0 sRed · Don't WalkYellow · Don't Walk

ERC2 C/C++ · Digital I/O

Include <erc2.h> (or <erc2/io.h>, <erc2/lcd.h>, and <erc2/utility.h>) and declare all Flex I/O pins before void ERCMain().

#include <erc2.h>
using namespace erc2;

DigitalOutput green1(Pin0);
DigitalInput  button1(Pin5);
DigitalOutput buzz(Pin6); // Do not name 'buzzer'
  • LED outputs: green1.Write(true); sets 5 V (LED on). green1.Write(false); sets 0 V (LED off).
  • Active-low buttons: button1.Value() returns false (0) while pressed and true (1) when released.
  • Piezo toggle: buzz.Toggle(); flips an output pin between HIGH and LOW.

ERC2 C/C++ · Touchscreen & timing

Every ERC2 program starts at void ERCMain(). Wait for a screen press and release before starting your traffic loop.

void ERCMain() {
    int x, y;
    LCD.Clear();
    LCD.WriteLine("Waiting for touch.");
    while (!LCD.Touch(&x, &y)); // Wait for press
    while (LCD.Touch(&x, &y));  // Wait for release

    double start = TimeNow();
    Sleep(1.5);     // Pause 1.5 seconds
    SleepMs(1);     // Pause 1 millisecond
}
  • Screen output: LCD.Write(val) prints inline; LCD.WriteLine(val) adds a newline.
  • Elapsed time: Use TimeNow() - start to measure elapsed seconds.

Write your abstract

In one page, compare programming your earlier desktop simulation with programming the virtual ERC2. Discuss the advantages and limitations you observed. Identify what this workbench cannot tell you about using a physical microcontroller, and distinguish your observations from your expectations.

Connect your discussion to the OSU research lab scenario. Follow Carmen for abstract submission details and due dates.